
Effective Steps to Get Your Walls Ready for a Fresh Coat of Paint
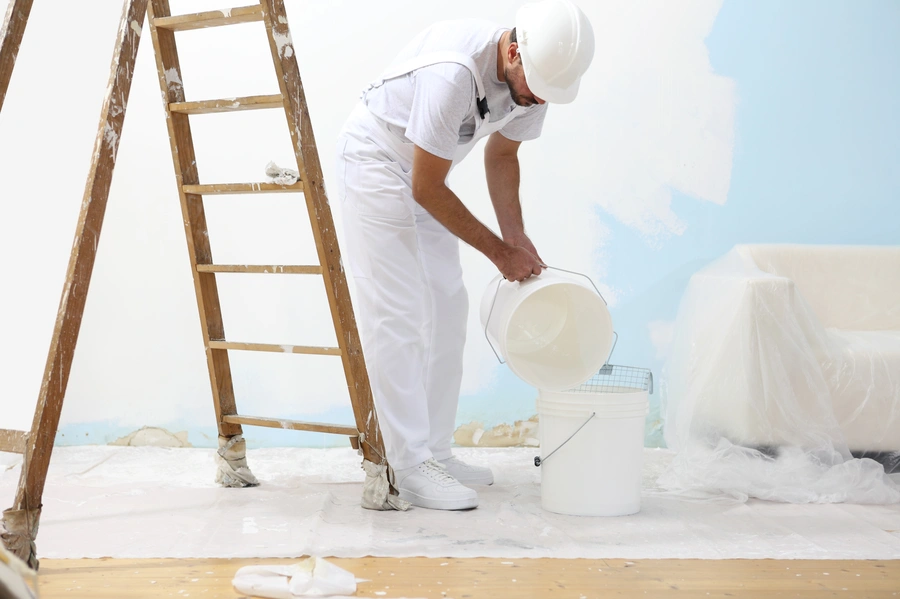
Painting your walls can transform any room, giving it a fresh and updated look. However, before you dive into this exciting project, it’s crucial to prepare your walls properly. This ensures the paint adheres well and lasts longer. Proper preparation involves cleaning, repairing, and priming your surfaces. Let’s explore each step in detail to help you achieve professional-looking results.

Why Wall Preparation Matters
Preparing your walls is more than just a chore; it’s an essential part of achieving a smooth and long-lasting finish. Skipping these steps can lead to peeling or uneven paint jobs that require frequent touch-ups. By investing time in preparation, you ensure that your painting projects not only look better but also stand the test of time.
The First Step: Cleaning Your Walls
Your first task is to clean the walls. Dust, dirt, and grease can prevent paint from adhering properly. Use a mild detergent mixed with water to wipe down the surfaces. For stubborn stains, like those found in kitchens or bathrooms, consider using a degreaser. Dry the walls completely before moving on to the next step.
Repairing Any Damages
Look for cracks, holes, or any other damage on your walls. These imperfections can ruin the final appearance of your painting projects. Use spackle or a similar filler to patch up holes and cracks. Once dry, sand the area smoothly so that it’s flush with the rest of the wall. Addressing these issues now will make sure your paint job looks flawless later.
Smoothing Surfaces Through Sanding
Sanding is an often overlooked but vital part of wall preparation. It helps create a smooth surface by removing old paint bumps or repairs that stick out. Start with medium-grit sandpaper and follow up with finer grit to achieve the best results. A smoother surface will provide a better grip for the new layer of paint.
Priming Your Walls
Applying a primer is key to ensuring good adhesion of the paint, especially if you’re working on previously unpainted walls or covering dark colors with lighter shades. Primer acts as a base coat that seals the wall and provides a smooth surface for painting. Choose a high-quality primer for optimal results.
Gathering Necessary Tools and Materials
- Detergent and water for cleaning
- Spackle or filler for repairs
- Sandpaper (medium and fine grit)
- High-quality primer
- Paint brushes and rollers
Avoid Common Mistakes With Quality Supplies
Choosing quality supplies is crucial when preparing your walls for painting projects. Cheap fillers might crack over time, and low-grade primers may not seal properly. Investing in high-grade products ensures fewer headaches down the road. Remember, even the best Painting Services stress the importance of good materials.
Final Words on Getting Professional Results
If you’re considering hiring experts, remember that reputable Painting Services can handle the entire preparation process for you. Professionals ensure every step is carried out meticulously, saving you time and effort while guaranteeing exceptional results.
Ready to Transform Your Space?
With these steps, you are well-equipped to prepare your walls like a pro. Whether you’re doing it yourself or opting for expert help, proper preparation is non-negotiable for stunning results. Based in Little Rock, AR, we offer insights and tips for successful home projects. Contact James Home Maintenance at (501) 394-5161 for more advice on transforming your space efficiently.